Set up your own Jitsi video conferencing platform for one hundred concurrent users and unlimited hosts. This setup has been tested to run as expected using the best-in-class open-source WebRTC video conferencing platform, Jitsi Meet.
This guide will help you to set up Jitsi Meet in an AWS environment.
Prerequisites
Before you begin, make sure you meet the following prerequisites:
- Basic AWS Knowledge: Familiarity with AWS services, EC2 instances, CloudFormation, and AWS Identity and Access Management (IAM) is required.
- An active AWS account with appropriate permissions.
- Enough vCPU limit to create EC2 instances. (Follow this guide to ensure this).
Launching the AMI
Step 1: Find and Select AMI
Log in to your AWS Management Console.
Follow the provided links to access the Jitsi Meet product you wish to set up.
(If you want to install Jitsi Meet with recording using Jibri, please follow this guide: Setup Jitsi Meet with Recordings)
- Jitsi Meet 100 concurrent user video conferencing setup
- Jitsi Meet 250 concurrent user video conferencing setup
- Jitsi Meet 500 concurrent user video conferencing setup
Step 2: Initial Setup & Configuration
- Click the "Continue to Subscribe" button.
- After subscribing, accept the terms and conditions by clicking "Accept Terms".
- Wait for a few minutes for processing, then click "Continue to Configuration".
- Select your preferred region and click "Continue to Launch".
- From the "Choose Action" dropdown, select "Launch CloudFormation", and then click "Launch".
Create CloudFormation Stack
Step 1: Create stack
- Ensure the "Template is ready" radio button is selected under "Prepare template".
- Click "Next".
Step 2: Specify stack options
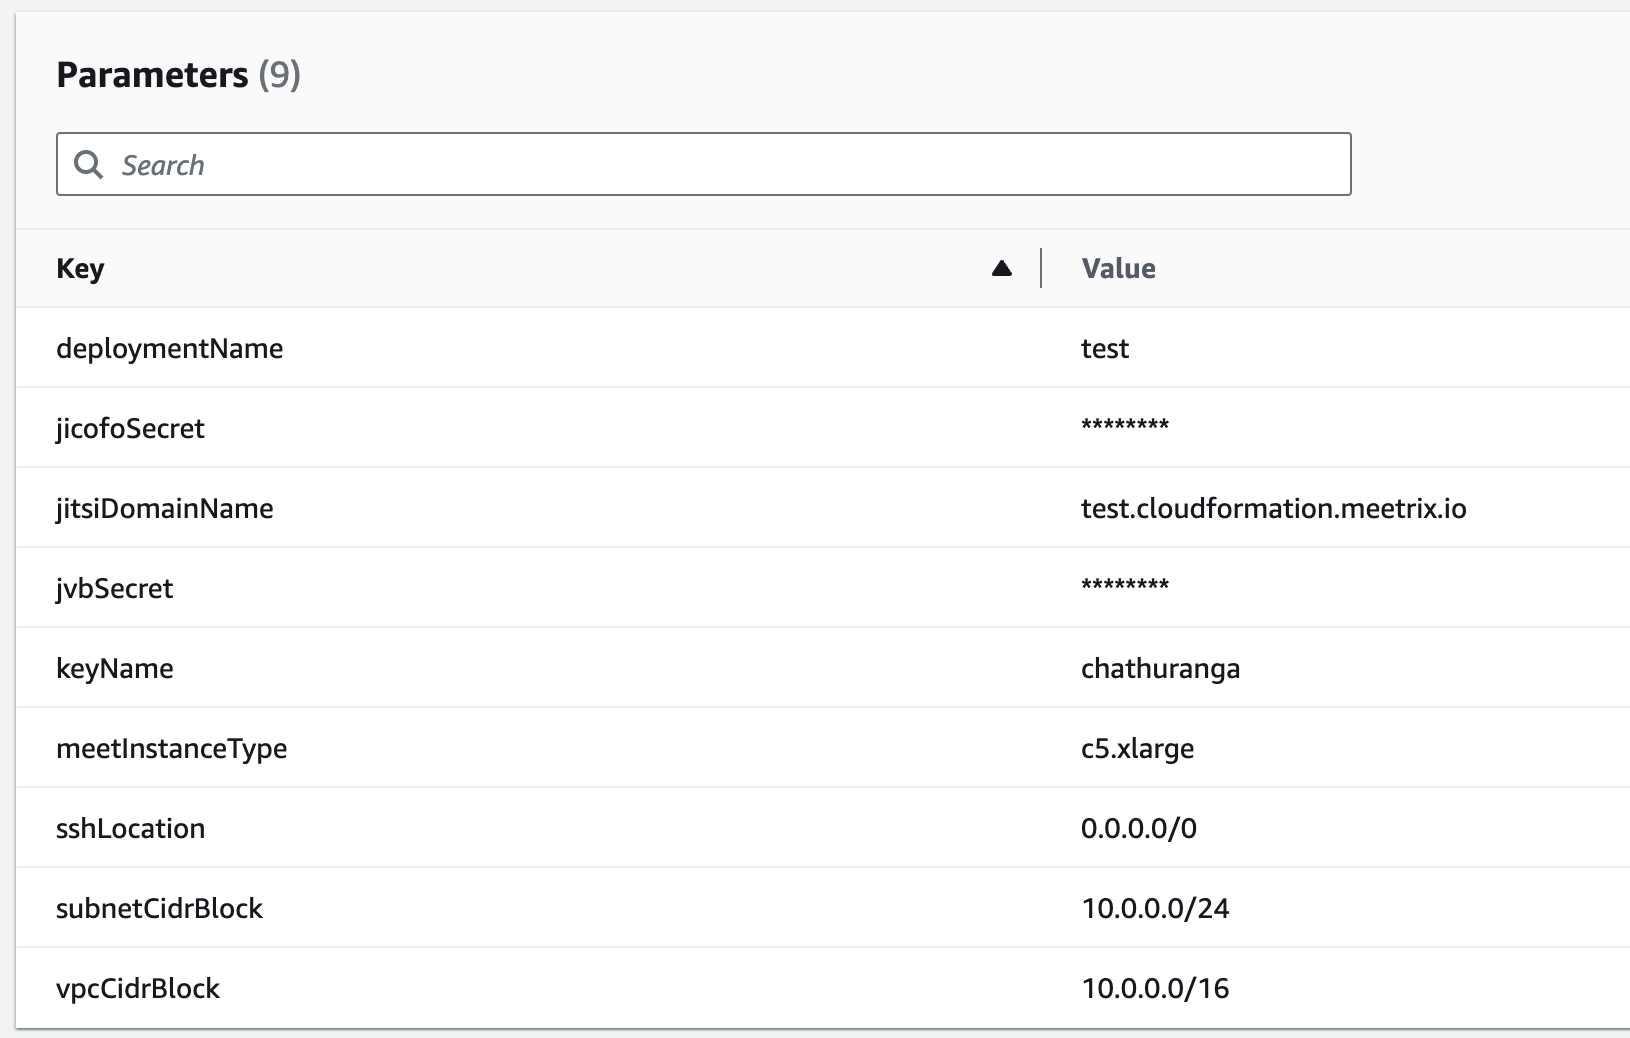
Provide the necessary parameters for your Jitsi deployment.
| Parameter | Description |
|---|---|
| Stack name | A unique name for your CloudFormation stack. |
| Admin Email | The email address for generating SSL certificates. |
| DeploymentName | A name for your deployment (e.g., jitsi-prod). |
| jicofoSecret | A strong, unique password for Jicofo. |
| jitsiDomainName | Your public domain name (e.g., meet.yourcompany.com). |
| jvbSecret | A strong, unique password for the JVB. |
| keyName | The name of your EC2 key pair for SSH access. |
| meetInstanceType | The EC2 instance type. We recommend c5.xlarge for up to 100 users. |
| SSHLocation | The IP address range for SSH access. For better security, restrict this to your IP. |
After filling in the details, click Next.
Step 3: Configure stack options
- Under "Stack failure options," choose "Roll back all stack resources".
- Click "Next".
Step 4: Review
- Review all the details you've entered.
- Acknowledge that CloudFormation might create IAM resources by ticking the checkbox.
- Click "Submit".

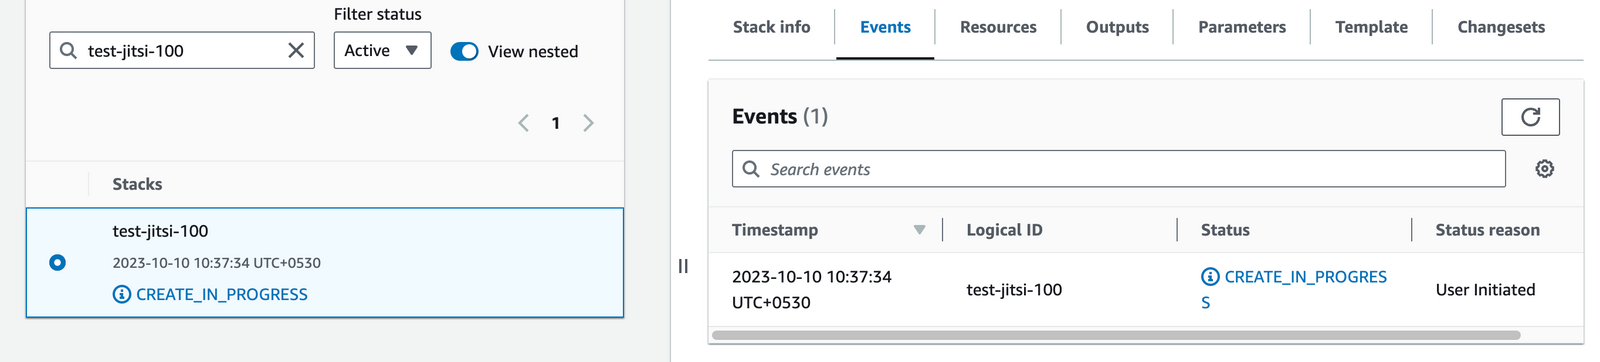
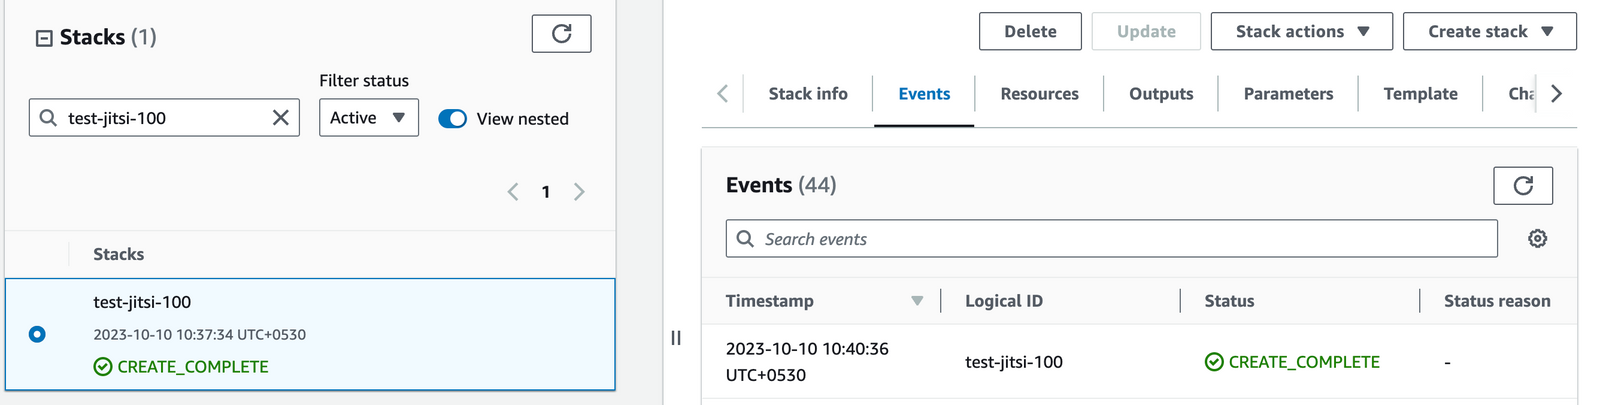
You will be redirected to the CloudFormation stacks page, where you can monitor the deployment progress. The stack creation typically takes 5-10 minutes.
Update DNS
Step 1: Copy IP Address
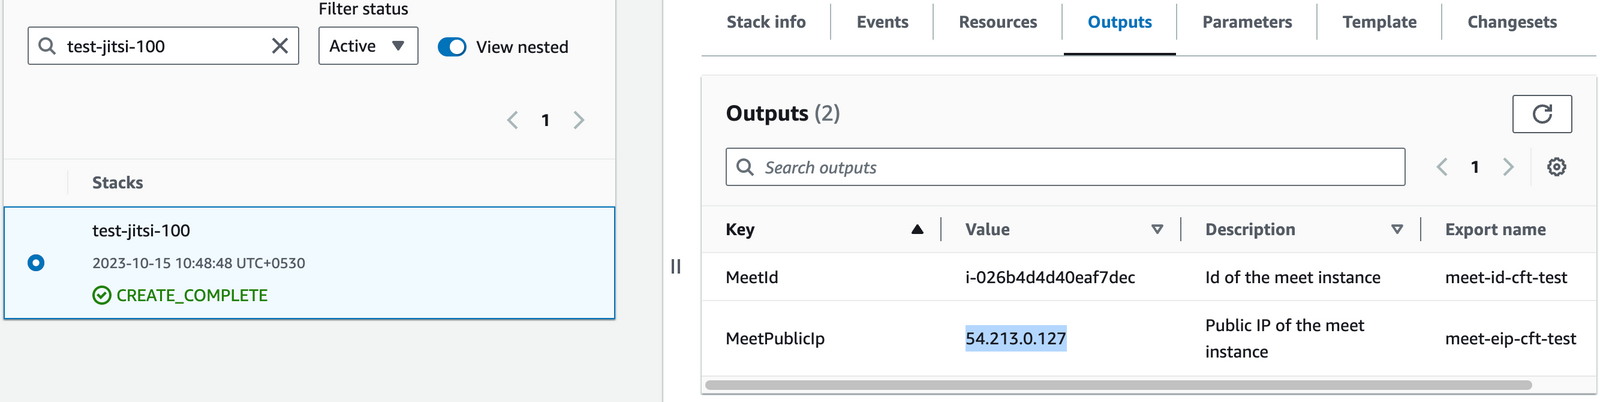
Once the stack is created, go to the Outputs tab and copy the value of MeetPublicIp.
Step 2: Update DNS
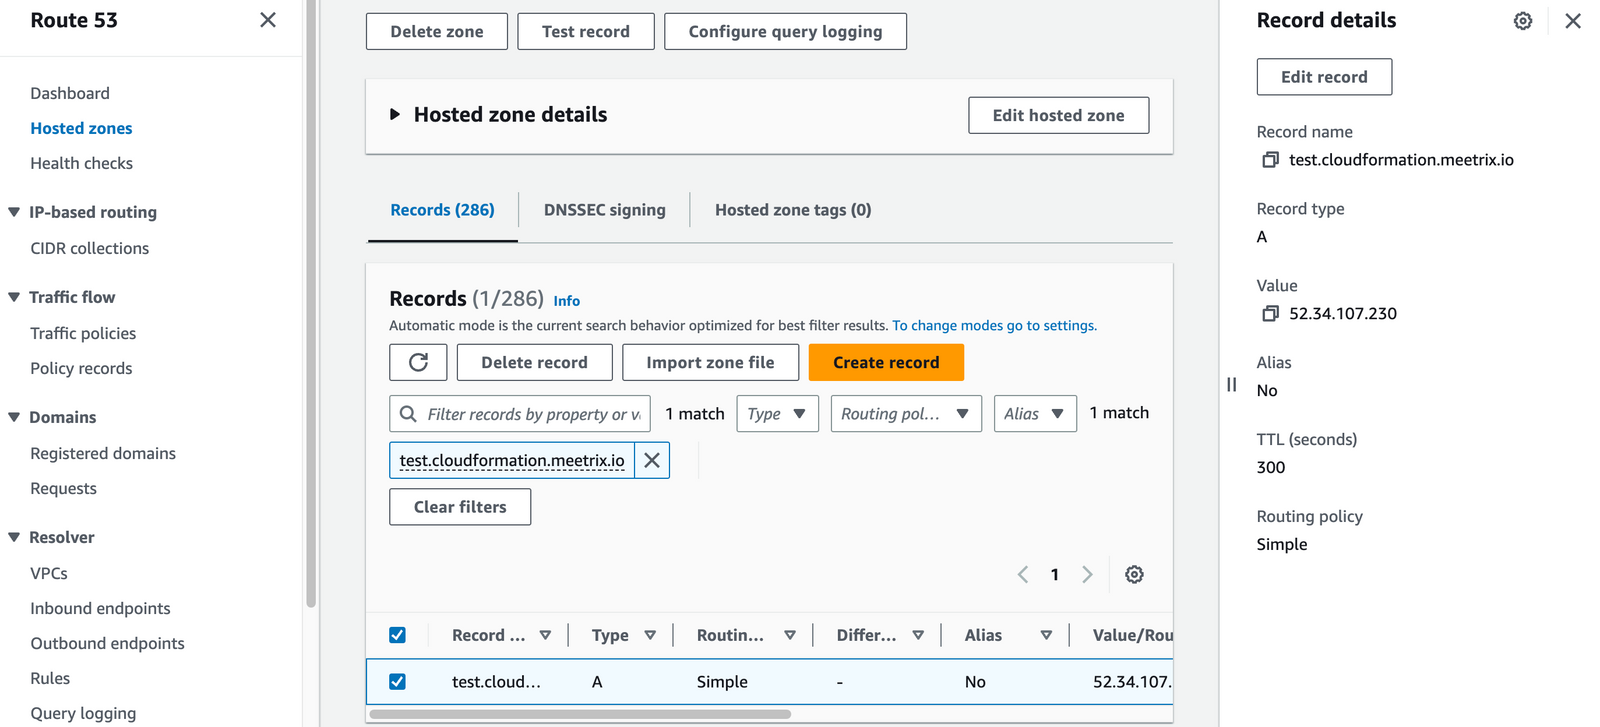
- Go to your DNS provider (e.g., AWS Route 53).
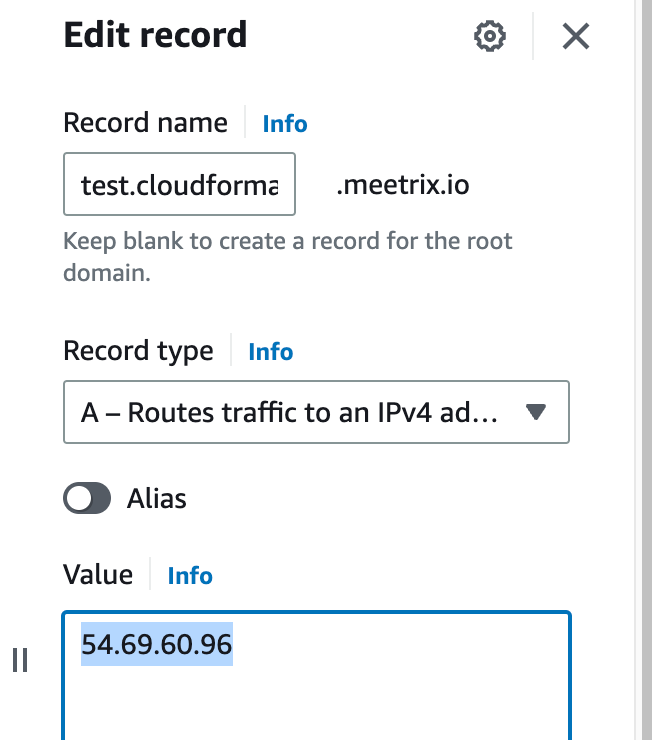
- Create an A record for the domain you specified (
jitsiDomainName). - Point the record to the MeetPublicIp you copied.
- Save the record.
Generate SSL
Step 1: Log in to the server
- Copy the "MeetPublicIp" from the CloudFormation outputs.
- Open your terminal and use the following command to connect:
ssh -i "your-key.pem" ubuntu@<MeetPublicIp>
- Type "yes" and press Enter to log in.
Step 2: Generate SSL certificate
You can run the command below to automatically set up SSL. If this fails, follow the manual Certbot steps.
sudo /root/certificate_generate_standalone.shFor manual generation, execute sudo certbot and follow the prompts:
- Enter your email.
- Agree to the terms.
- Choose whether to share your email.
- Select your domain name from the list.
- Choose to redirect HTTP to HTTPS (recommended).





The SSL certificate will then be generated.
Create a Meeting
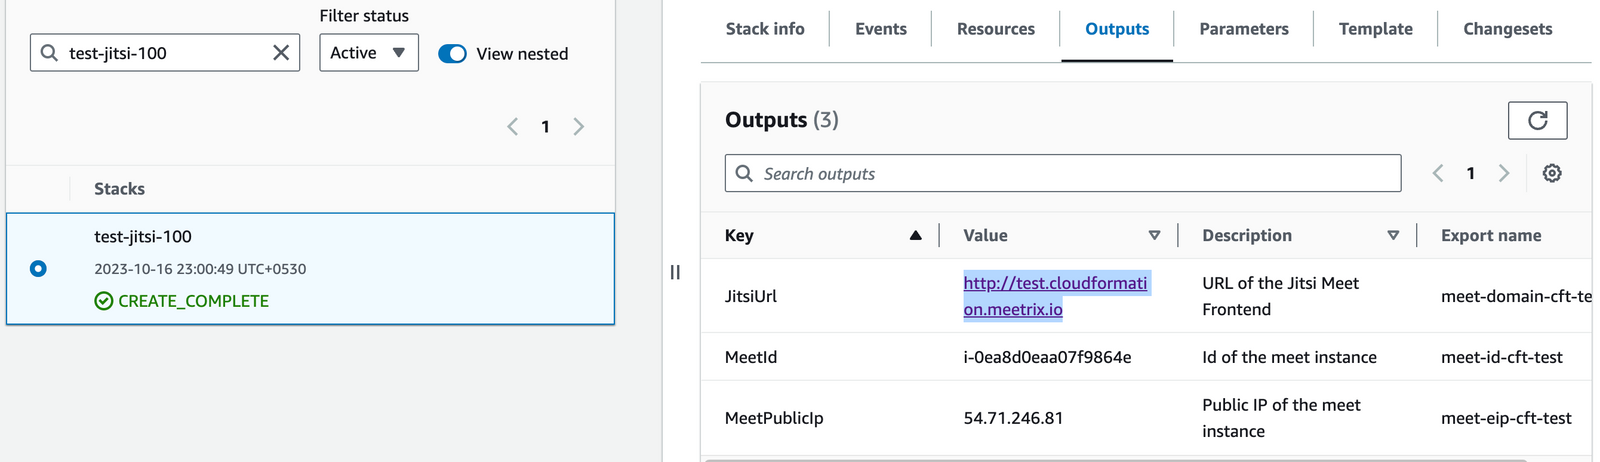
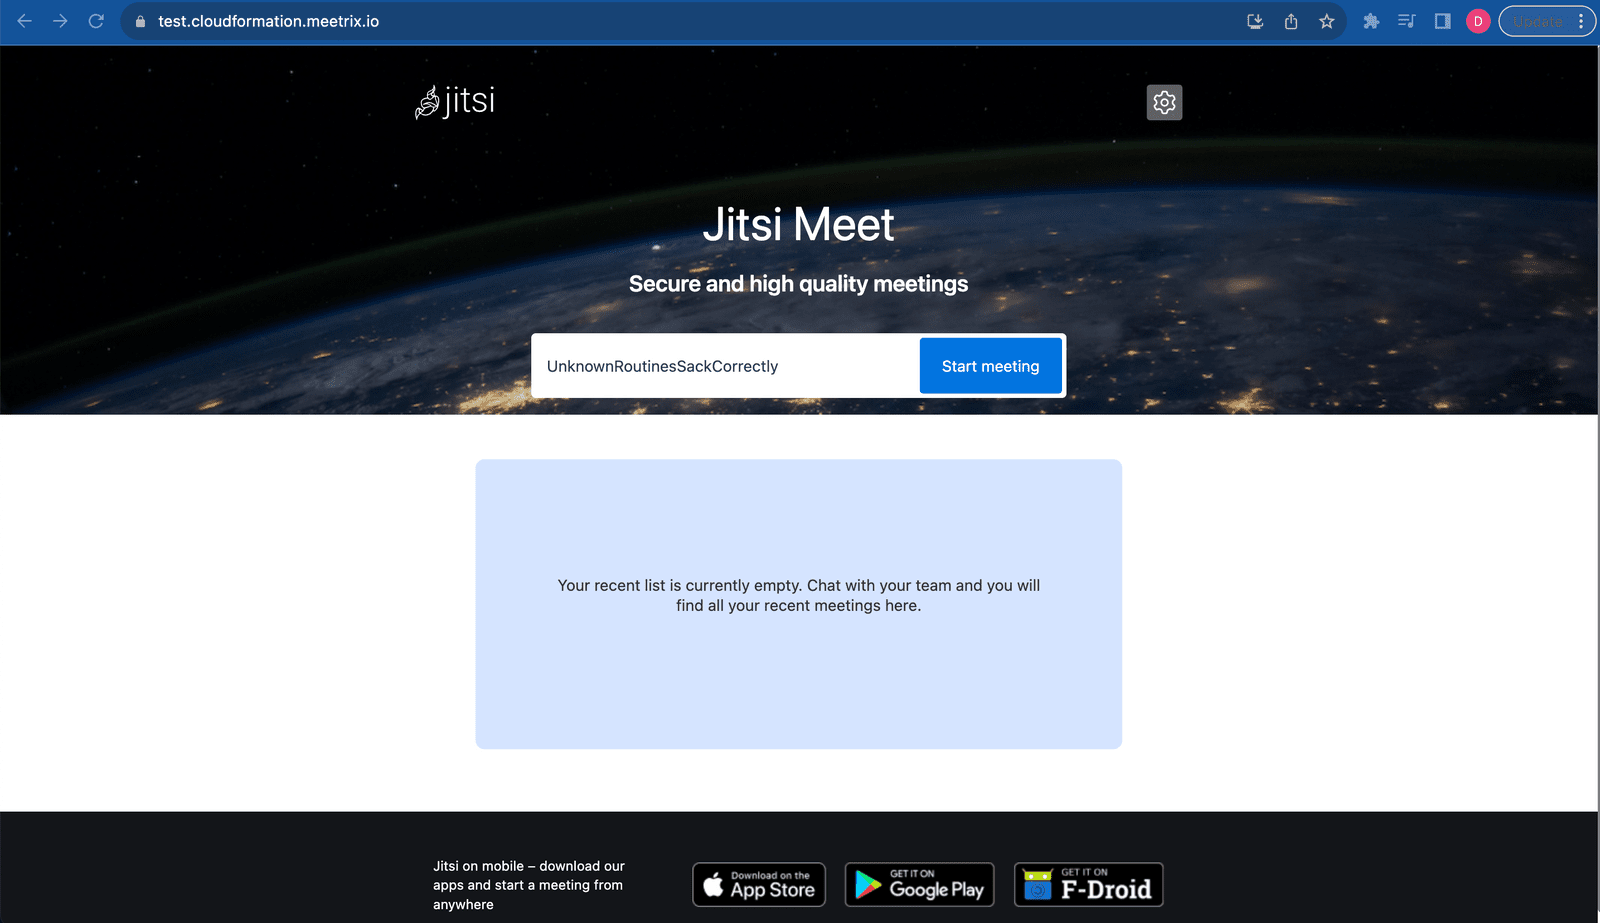
Open your web browser and navigate to your domain name. You will be directed to the Jitsi Meet dashboard. Enter a meeting name and click 'Start meeting' to begin.
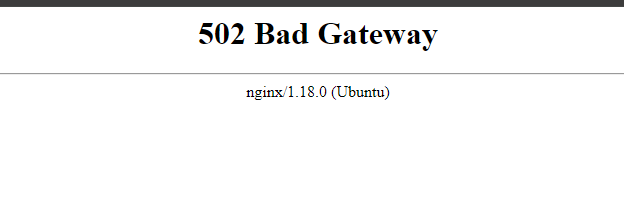
502 Bad Gateway Error?
Managing Your Jitsi Meet Instance
Shutting Down Jitsi Meet
To shut down the setup, you need to stop all the running servers if available. The number of instances deployed will depend on your setup.
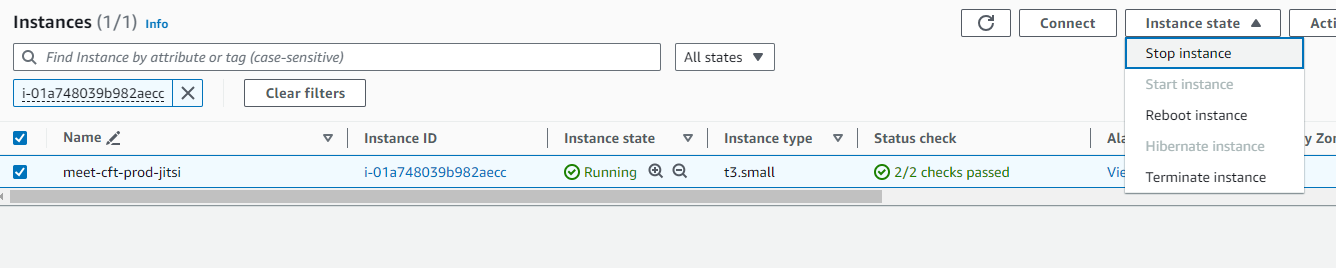
- In the CloudFormation stack's Resources tab, click the link for the EC2 instances.
- Select an instance and use the Instance state dropdown to Stop instance. You can restart it later by selecting Start instance.

Removing Jitsi Meet
To completely remove the application and all associated resources, delete the CloudFormation stack from the AWS console.
Check Server Logs
To check logs, log in to each server via SSH and use the following commands:
Jitsi Meet Server Logs:
sudo tail -f /var/log/jitsi/jicofo.log
sudo tail -f /var/log/prosody/prosody.log
sudo tail -f /var/log/nginx/error.log
JVB Server Logs:
sudo tail -f /var/log/jitsi/jvb.logTroubleshooting
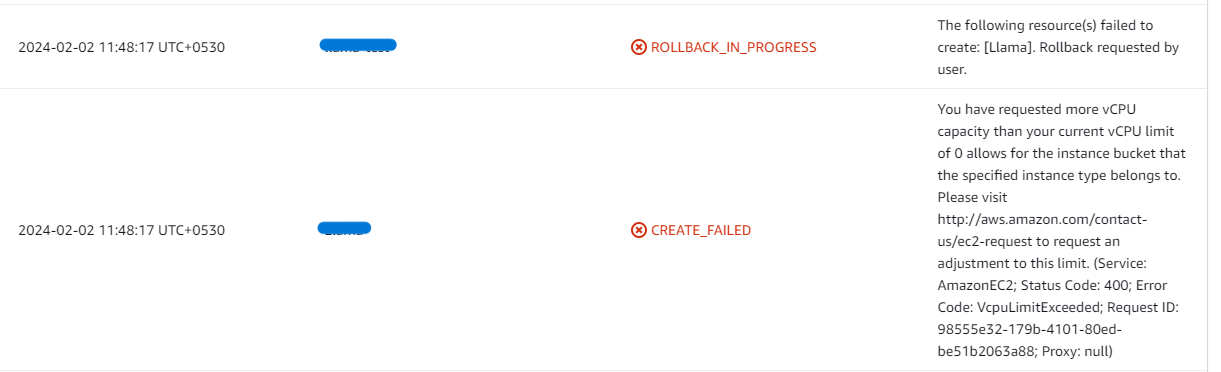
- vCPU Quota Error: If you see an error about vCPU limits, please follow this guide to request an increase.
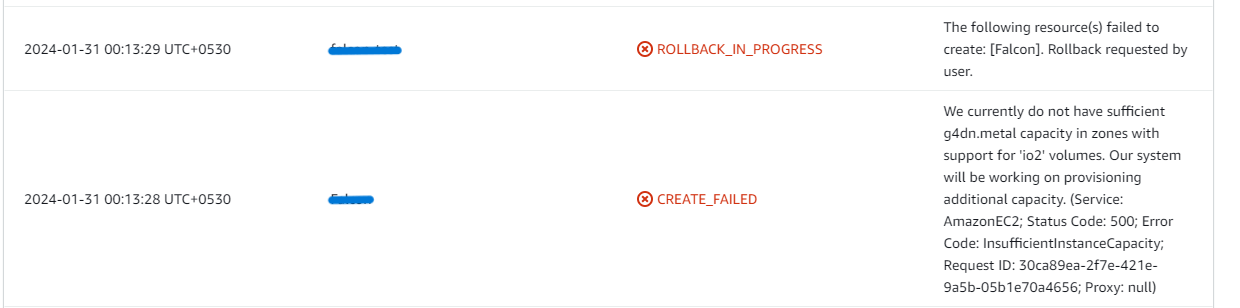
- Insufficient Capacity: If you get an "insufficient instance capacity" error, try launching the stack in a different AWS region or at a later time.
- Dashboard Error: If the dashboard doesn't load immediately, wait 5-10 minutes for the services to initialize and then try again.
- Other Issues: For other issues, check the server logs for detailed error messages.
Conclusion
This guide provides a comprehensive resource for integrating Jitsi Meet into your AWS setup. By following these steps, you can deploy a scalable and secure video conferencing platform tailored to your needs. Whether for virtual meetings, remote classes, or connecting with loved ones, Jitsi Meet empowers you to stay connected from anywhere in the world.
Frequently Asked Questions
What are the minimum instance requirements for Jitsi Meet?
For a small to medium setup (up to 100 users), we recommend an instance like c5.xlarge for the Jitsi Videobridge (JVB) and a smaller instance for the Jitsi Meet components.
Can I use my own domain name?
Yes. This guide walks you through configuring your own domain name and setting up SSL certificates for it.
How do I handle upgrades?
When a new version is available in the AWS Marketplace, you can launch the new version and migrate your data. Remember to backup your server data before removing the old version.
What should I do if I get a '502 Bad Gateway' error?
This error usually means the application is still starting up. Please wait about 5-10 minutes after deployment and then refresh the page.
Need Help with Your Jitsi Deployment?
If you run into any issues or need assistance with your Jitsi Meet setup, our support team is here to help.
Contact Support