Jitsi Meet Admin Panel provides you with a wide array of features that can help you manage all your Jitsi meetings easily. Two of such features are setting up admin users and scheduling meetings. This post gives you a brief overview of these features and how you can use them on Jitsi Meet Admin Panel.
Setting up admin users
There are two types of admin users in the Jitsi Meet Admin Panel, and they are as follows.
Super Admin Users
There is only one Super Admin user. This user is typically the administrator who creates and manages all other admin users and has full rights to the system. Given below is a list of operations that a super admin user is capable of performing.
- Create instant meetings and schedule meetings for a later time.
- Manage recent and upcoming meetings by sharing the meeting link with participants, editing meeting information and deleting meetings.
- Add users to Jitsi Meet Admin Panel
- Manage existing users by changing user passwords and removing users from the meeting management system.
- Update general settings of Jitsi Meet Admin Panel according to your company brand.
- Add and update company privacy policy, terms of service and FAQs as needed.
Admin users
The super admin user can add admin users to the Jitsi Meet Admin Panel, who will then be able to support the super admin in creating, scheduling and managing meetings. Given below is a list of operations that admin users are capable of performing.
- Create instant meetings and schedule meetings for a later time.
- Manage recent and upcoming meetings by sharing the meeting link with participants, editing meeting information and deleting meetings.
How to set up admin users
Setting up admin users will only take a click of a button. Follow the steps below to see how you can do it.
Step 1
Log in to your account with your Facebook or Google accounts or simply enter your email and password and hit Sign in.

Step 2
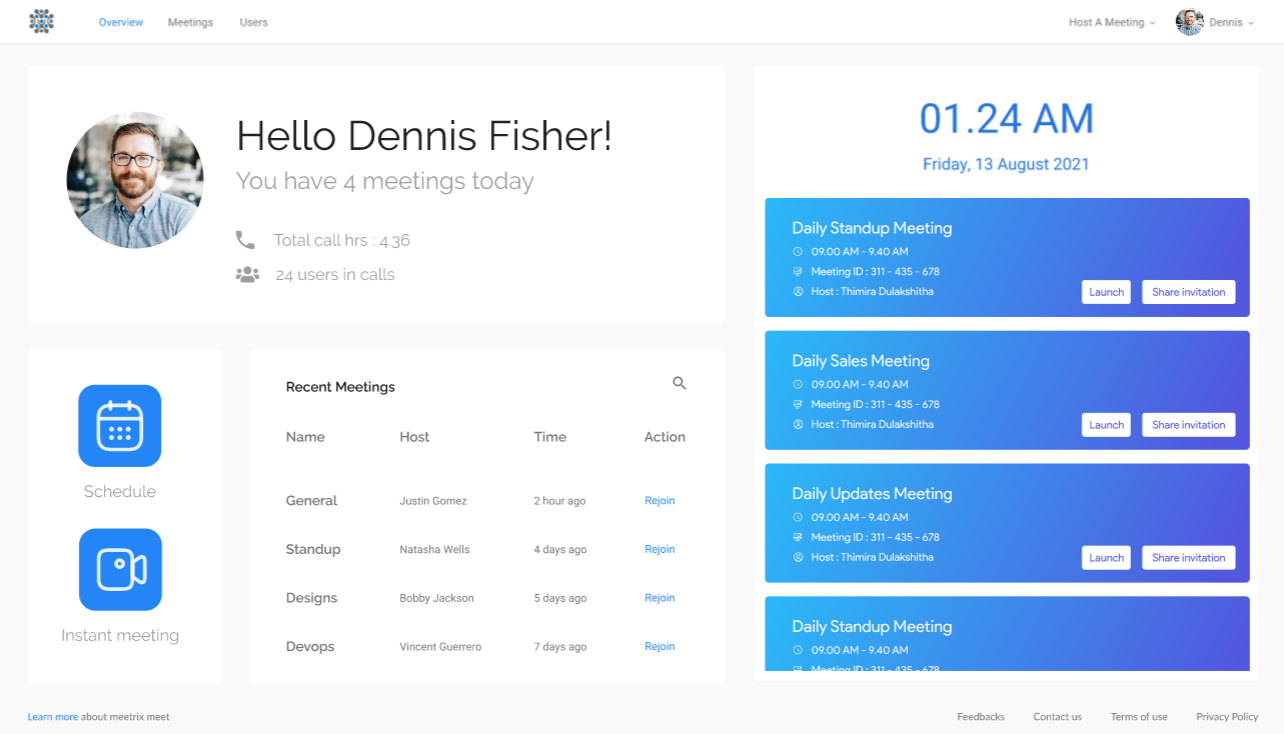
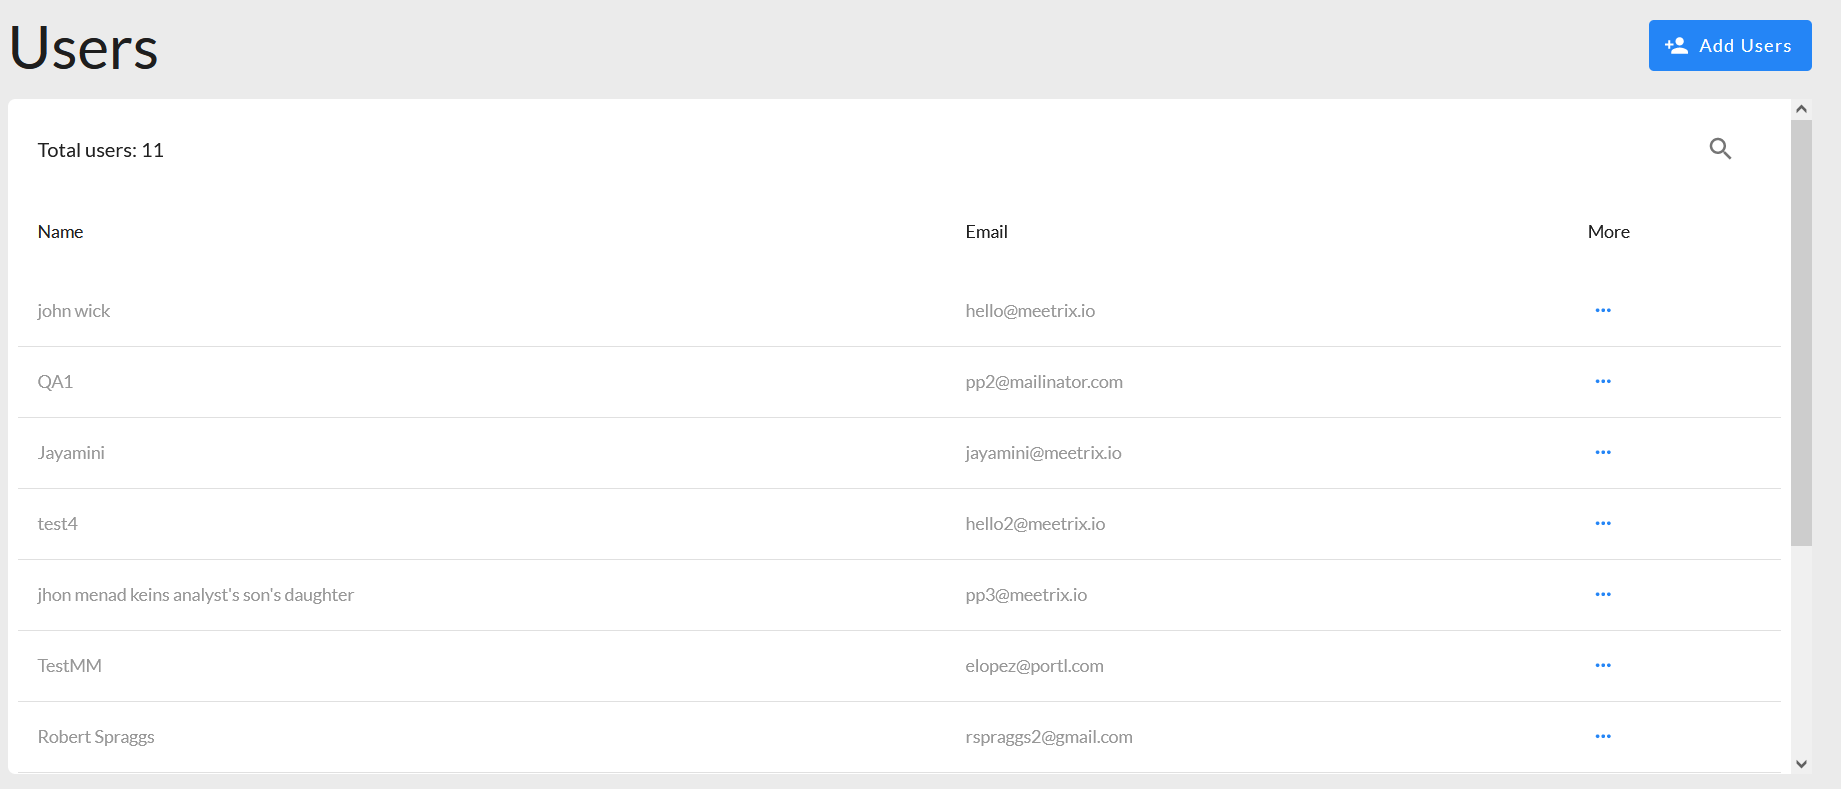
Once you get to your dashboard, go to the Users tab.
Step 3
Click on the Add Users button.
Step 4
Enter the name and email address of the user and assign a password. Finally hit Continue.
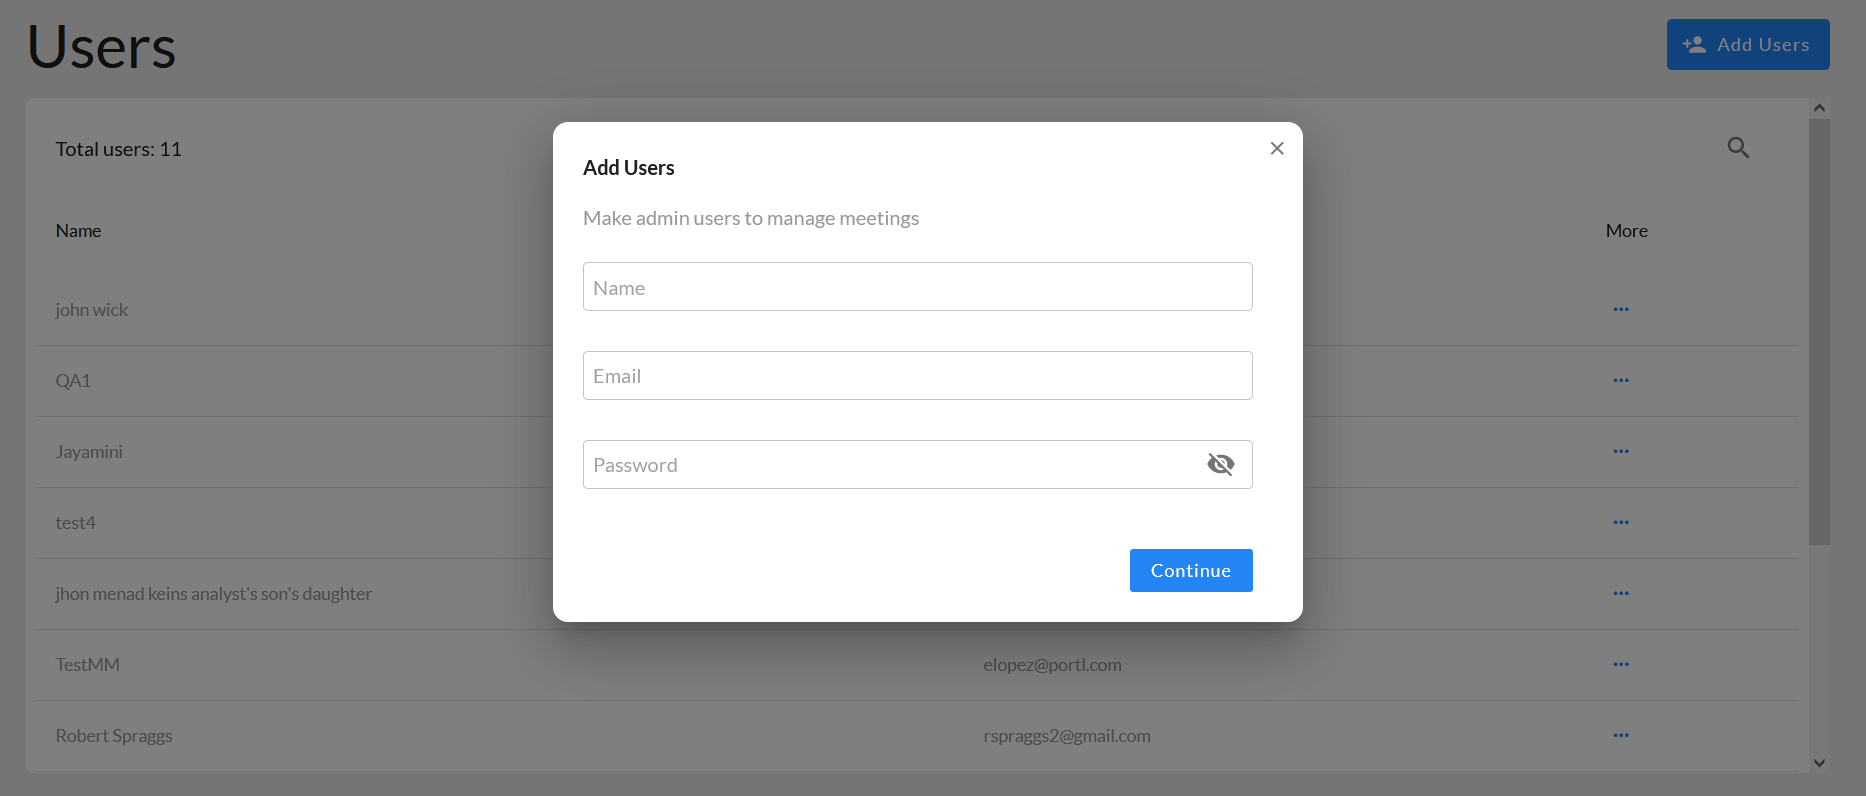
By following this simple process, you can easily add admin users.
Scheduling Meetings
An overview of meeting scheduling
You don't have to wait until the time of your meetings to plan them and invite participants as the system allows you to schedule all your meetings ahead of the actual meeting time. This is a great way to plan your work schedule and let you participants know about the meeting ahead of time.
How to schedule meetings
Scheduling meetings with Jitsi Meet Admin Panel involves a few simple steps as follows.
Step 1
Log in to your Jitsi Meet Admin Panel account with your Facebook or Google accounts or simply enter your email and password and hit Sign in.

Step 2
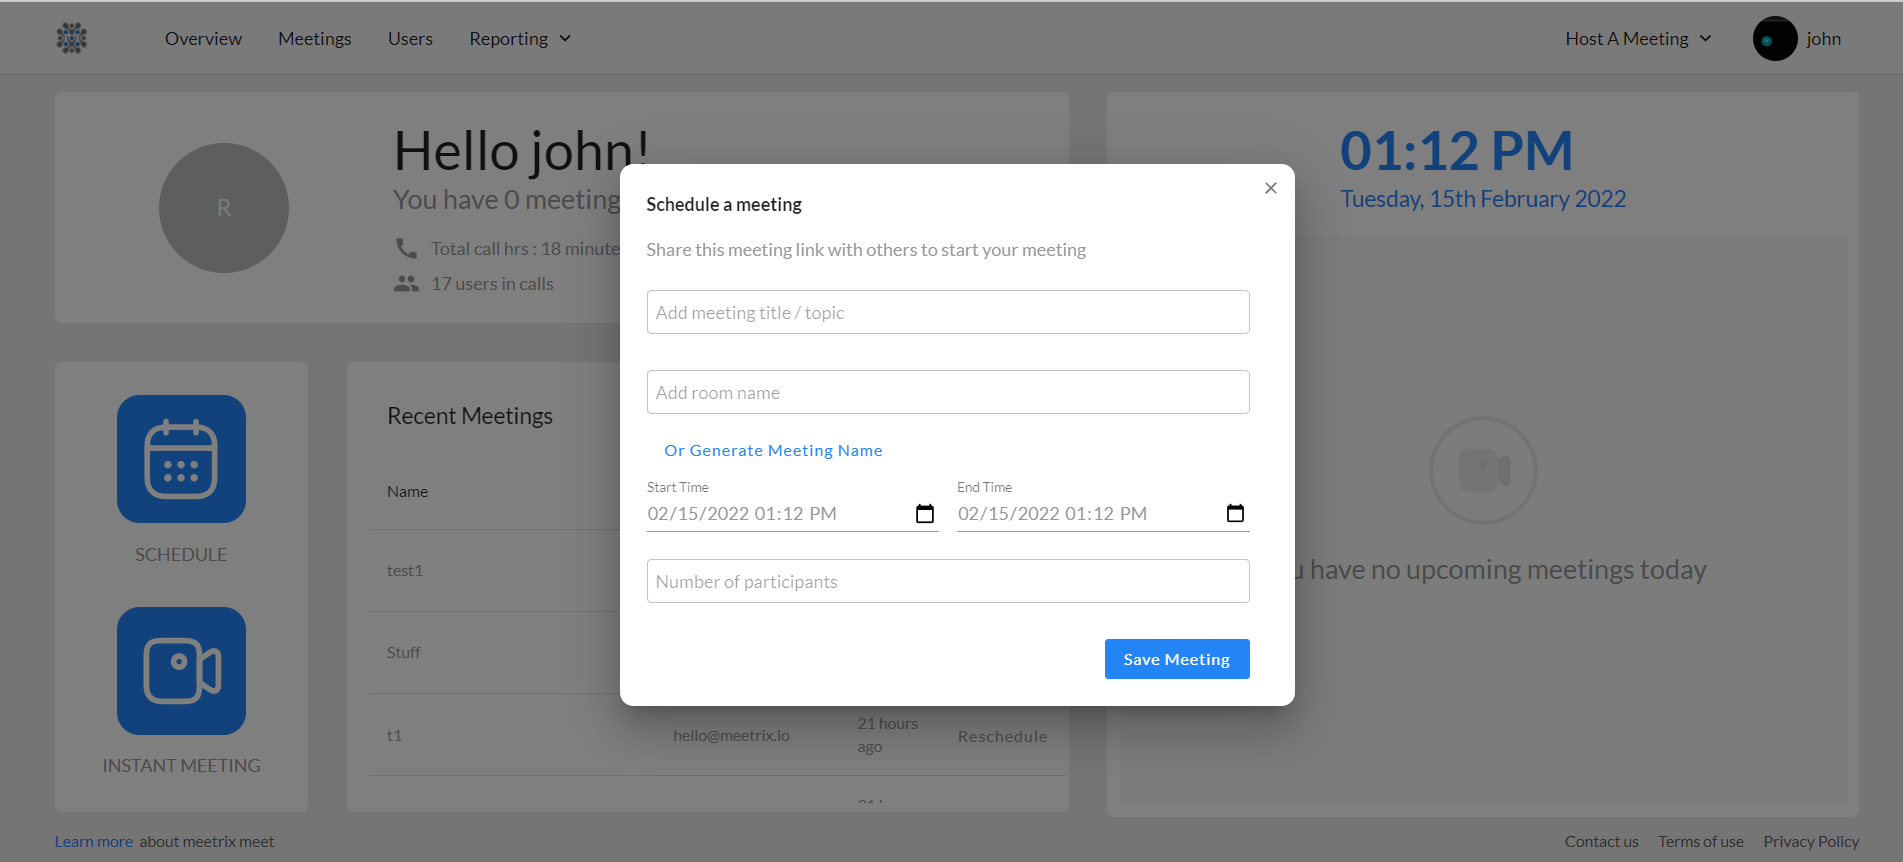
Once you get to your dashboard, click on the Schedule button on the dashboard to initiate the meeting scheduling process.
Step 3
Assign a name to your meeting and enter the date of the meeting, starting and ending times and the expected number of participants and hit Save Meeting. Upon the submission of the meeting information, it will be added to your upcoming meeting schedule.
Step 4
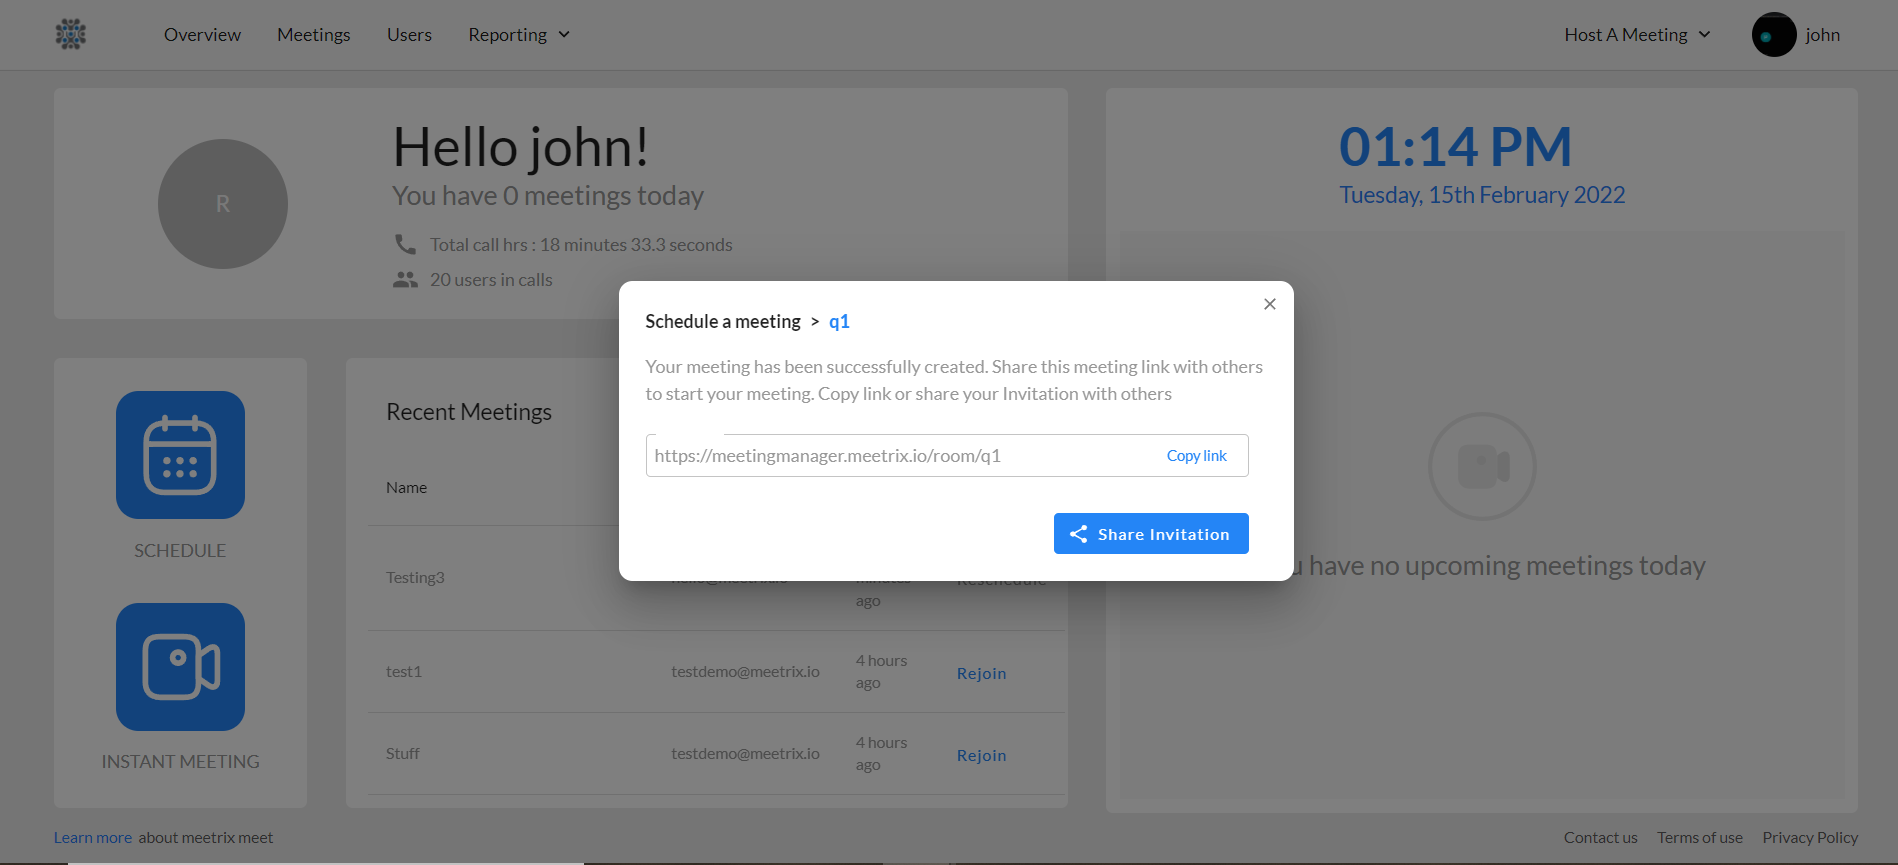
Finally copy the meeting link so you can share it with anyone who wants to join the upcoming meeting.
If you are interested in getting a Jitsi Meet Admin Panel to manage all the Jitsi meetings of your organisation, feel free to contact us at Meetrix. Our teams are more than happy to discuss your video conferencing needs and deliver customised solutions that suit your business.
This is an article of a series :
- Benefits of scheduling video conferences using Jitsi Meet Admin Panel
- Features of Jitsi meet admin panel
- Setting up Admin users and scheduling meetings on Jitsi Meet Admin Panel
- How Jitsi Meet Admin Panel Can Benefit the Entertainment and Events Management Industry
- How can Jitsi Meet Admin Panel can Benefit Your Educational Organization
Leave a Comment