Looking for a scalable and secure video conferencing solution for your organization? This comprehensive guide will show you how to set up Jitsi Meet on AWS using Meetrix's auto-deployment scripts. These configurations support 100 to 500 concurrent users and can scale up to 1,000 users, making them ideal for enterprises needing stable video conferencing with advanced features like recording. Deploy Jitsi Meet quickly and efficiently from the AWS Marketplace with this step-by-step tutorial.
The following tutorial will guide you to set up 100-500 user single-region Meetrix Jitsi AWS script products from the AWS Marketplace.
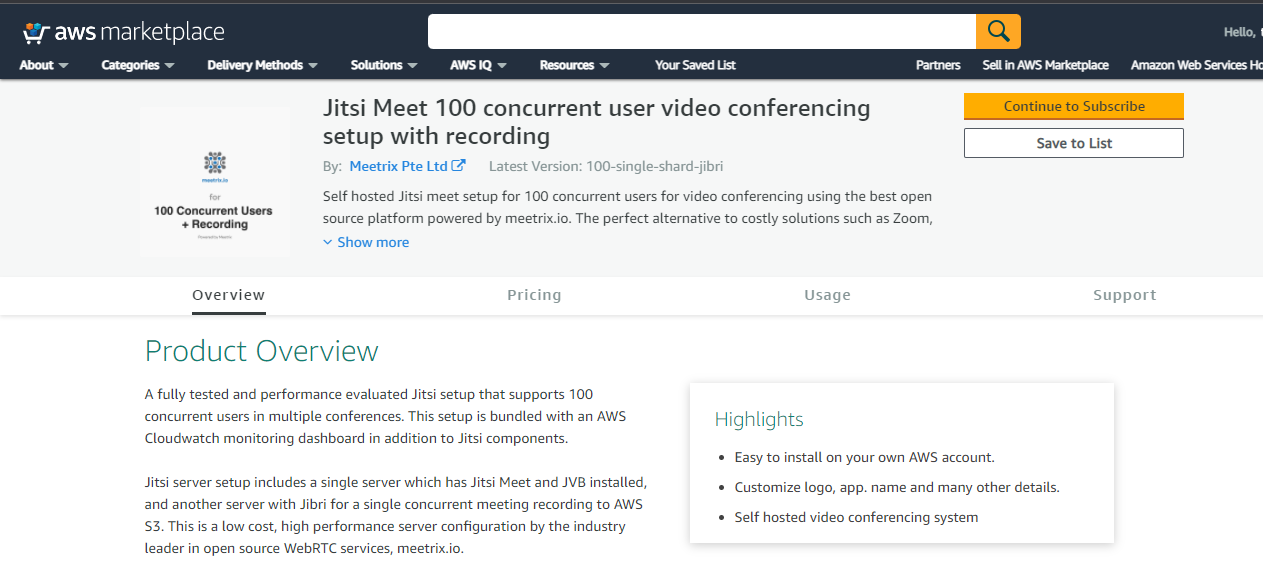
First, you will need to go to the related AWS marketplace product description page and make sure you are logged into your AWS account.
- Jitsi Meet 500 concurrent user video conferencing setup with recording(scalable up to 1,000 users)
- Jitsi Meet 250 concurrent user video conferencing setup with recording
- Jitsi Meet 100 concurrent user video conferencing setup with recording
- Jitsi Meet 50 concurrent user video conferencing setup with recording
Follow the steps below to complete your Jitsi Meet deployment on AWS.
-
Press Continue to Subscribe button.
-
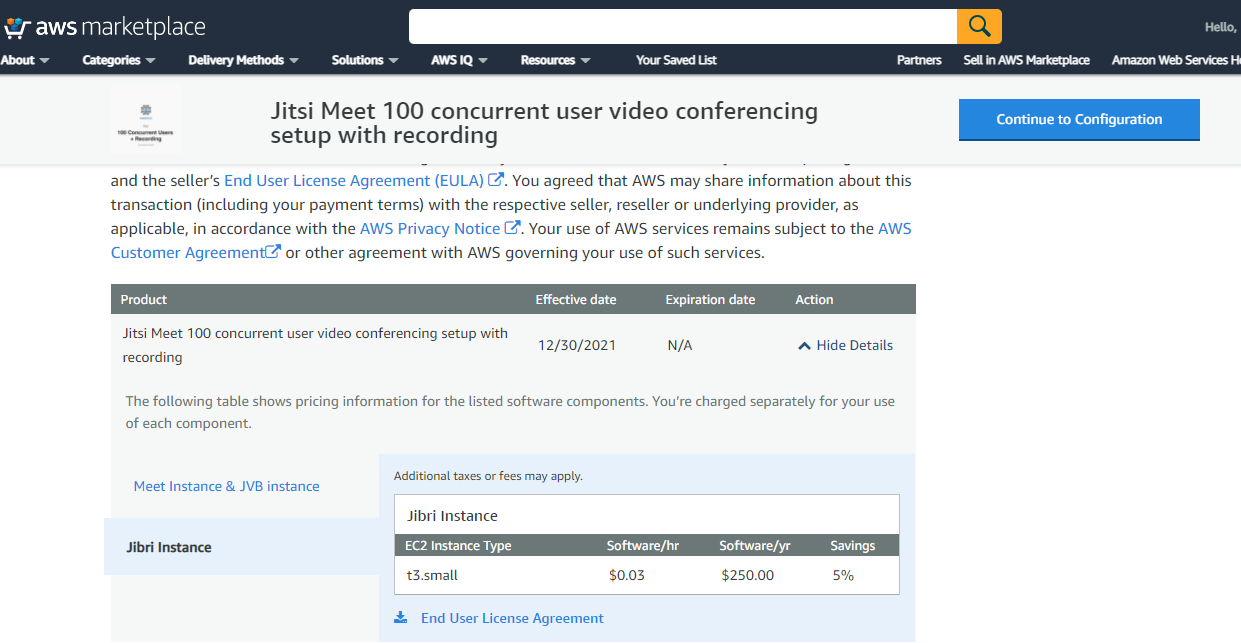
Then you can check the pricing information for the listed software components in the table below.
- meet instance.
- jvb instance.
- jibri instance (if available)
Click the Continue to configuration button at the top right to set the jitsi meet configuration.
-
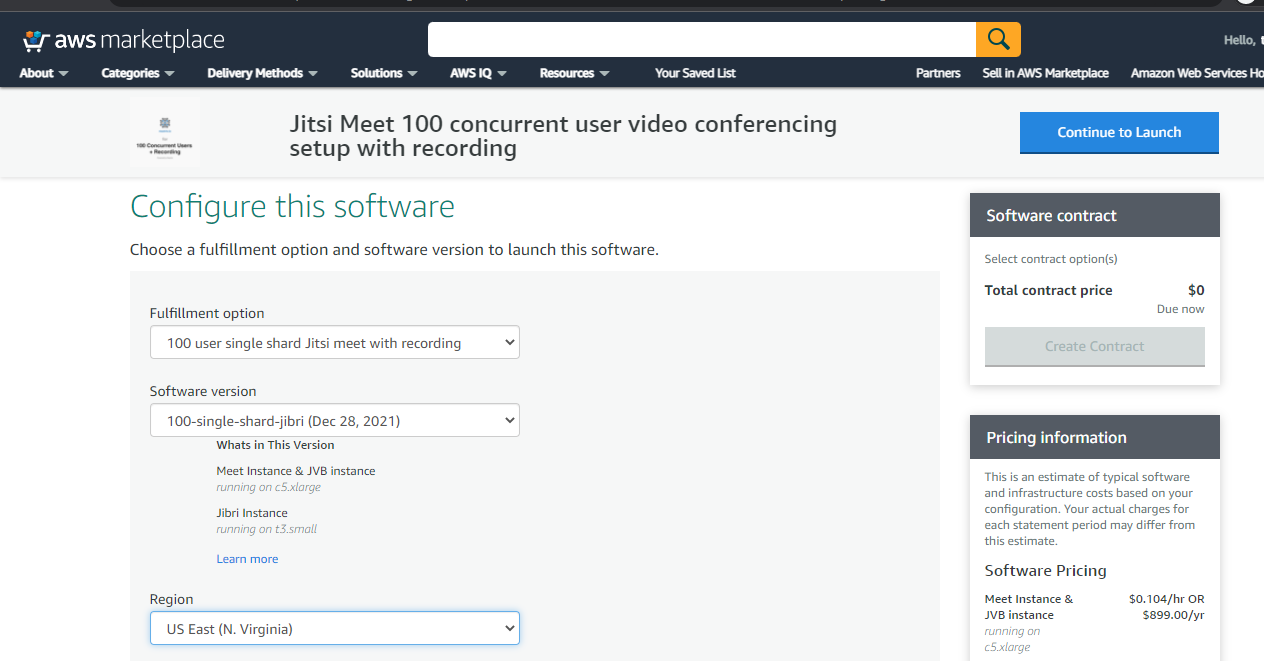
Then choose a fulfilment option and software version, press the Continue to Launch button to launch the setup process.
-
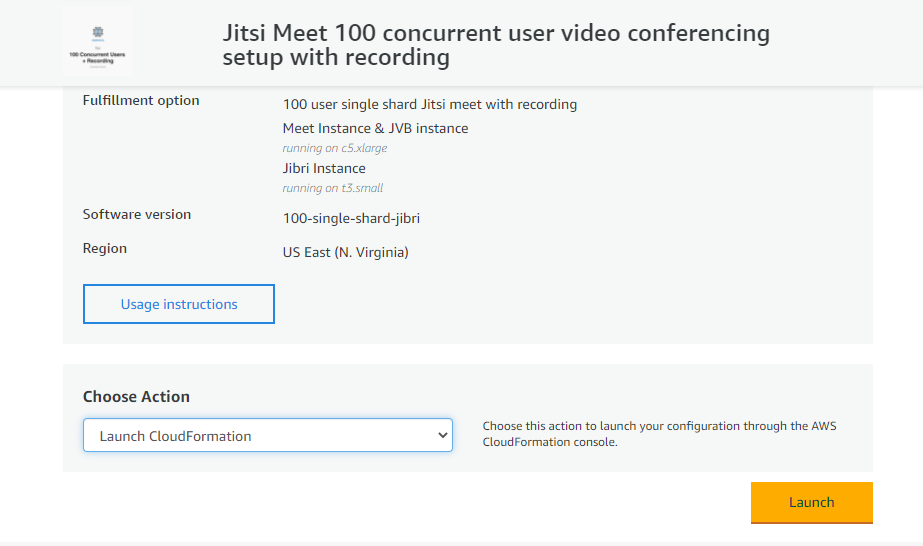
Choose Launch CloudFormation in Choose Action section and click the bottom Launch button.
-
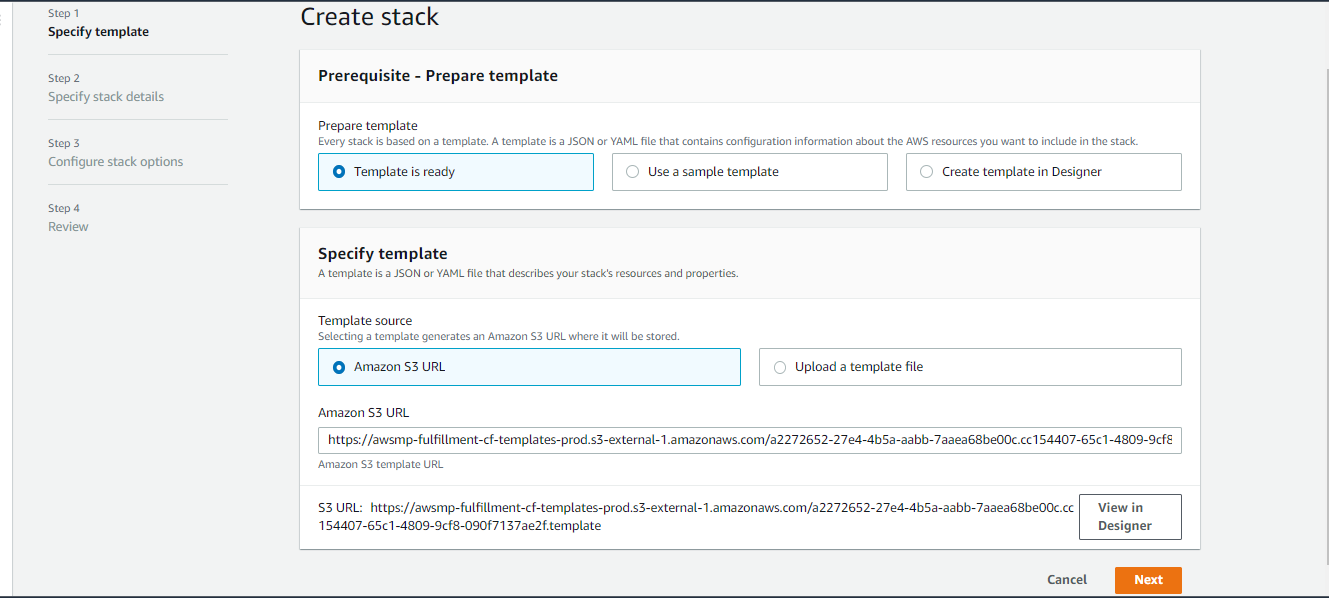
Now, the first step of the stack creation appears. Be sure not to change anything and click next.
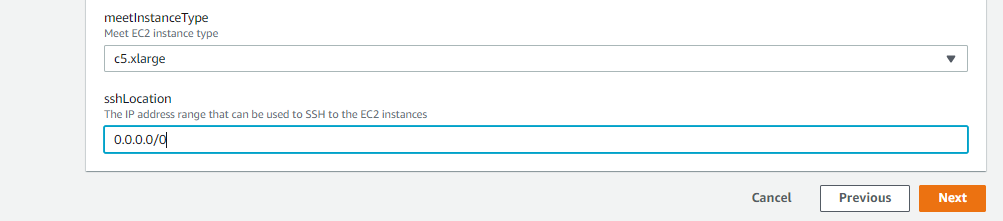
In the second step of stack creation, Define the stack name as you wish and add a range of usable IP addresses for SSH to EC2 instances at sshLocation (ex : 0.0.0.0/0). It is always better to add the IP of your terminal machine for safety because if you add 0.0.0.0/0 it allows anyone on the internet to connect to your instances. Use the following format for best outcomes. Please set CIDR to x.x.x.x/32 to allow one specific IP address access, or another CIDR range.
Change all the secrets and jibri s3 bucket details Keep your secrets safe (these are passwords you can add as you wish) because you will need them later for configurations. The S3 bucket should be created in the same account before running the scripts, and then add that bucket name to the JibriS3Bucket parameter below. Then press Next.

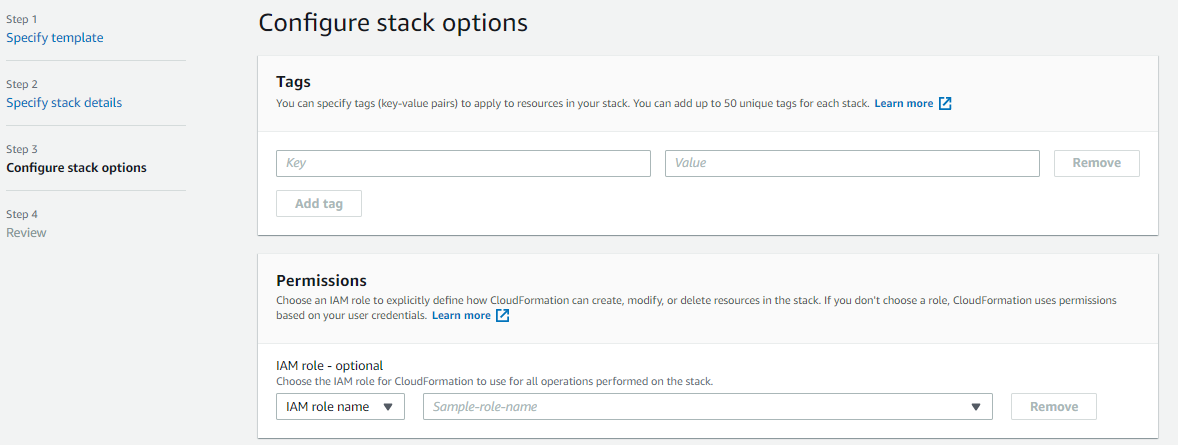
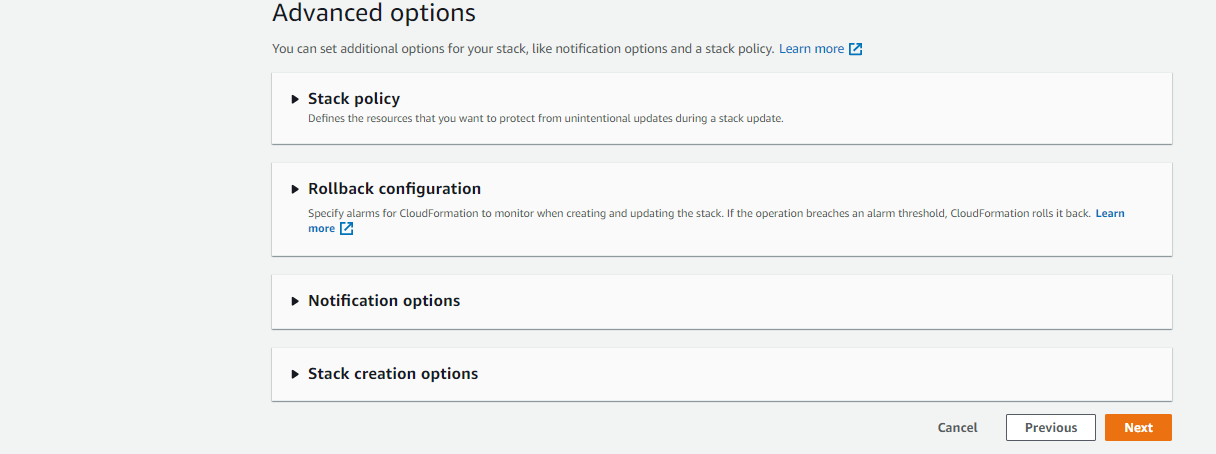
Then click the Next button in the bottom right without changing anything in step 3 inside the "Create stack" setup wizard.
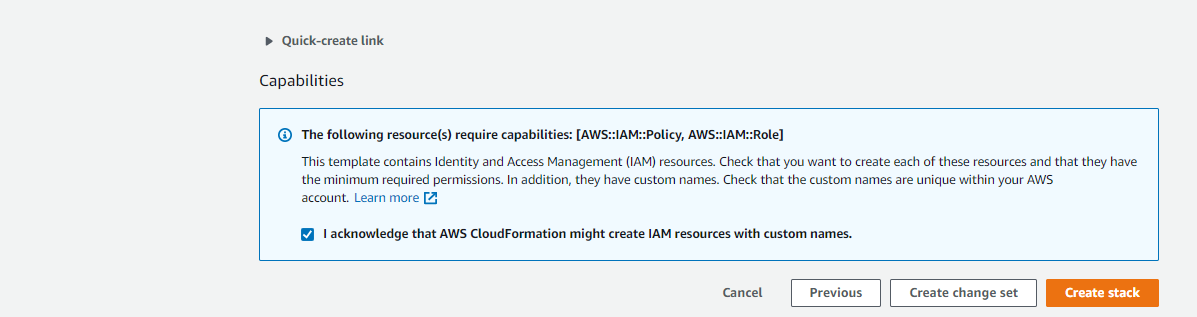
In the final step of creating a stack, put a tick in the capabilities section at bottom and click create stack.
-
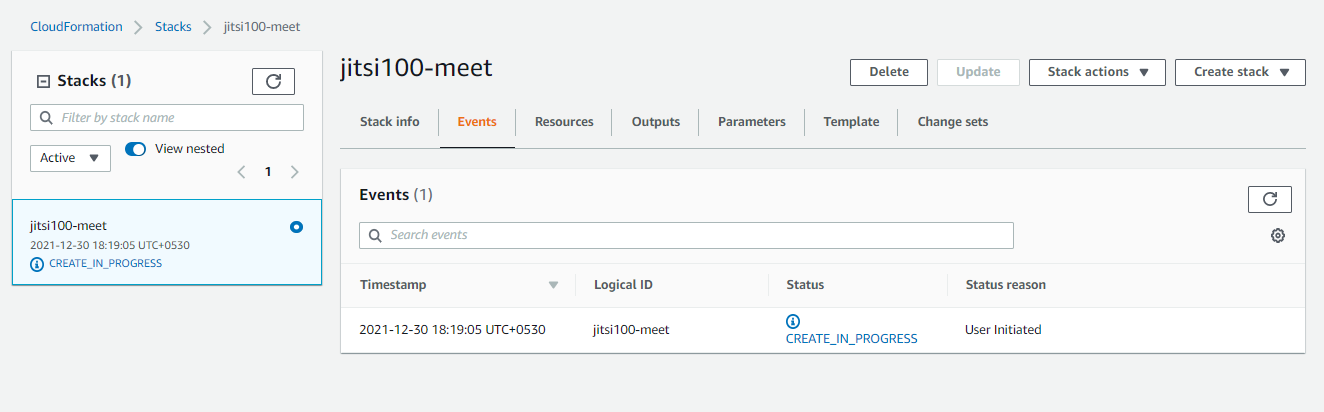
Now the setup of the Jitsi Meet stack is complete. You have to wait until the instances in the AWS region are created.
To test the system, you can get the IP of the Jitsi meet instance and point your domain to this IP address.
You can then login to the Jitsi video conference and set it up.
To embed the Jitsi meet interface you can follow this tutorial.
For front end customization you can follow this tutorial.
Unlock the Full Potential of Jitsi Meet: Advanced Guides and Resources
Meetrix offers tailored commercial solutions for deploying Jitsi Meet on any platform, including AWS, Google Cloud Platform (GCP), Azure, Digital Ocean, OVH, and Alibaba Cloud. Whether you need a scalable setup, advanced customization, or GDPR-compliant solutions, Meetrix has the expertise to deliver reliable and secure video conferencing environments.
Additional Resources:
- Setup Jitsi Meet on AWS - Developer Guide
- How to Set Up Jitsi on Google Cloud Platform (GCP)
- Setup Jitsi Meet on GCP - Developer Guide
- Setup Jitsi Meet with Recordings - Developer Guide
- Integrating Streaming Features into Jitsi Meet Admin Panel (JAMP)
- Mastering Jitsi Meet with JMAP: The Ultimate Guide to Admin Control and Customization
- How to Customize the Jitsi Meet Front End: A-Z Guide
For professional support, custom deployments, or GDPR-compliant solutions, contact us at hello@meetrix.io.
Leave a Comment